Artwork
About
Category:
Community Arts
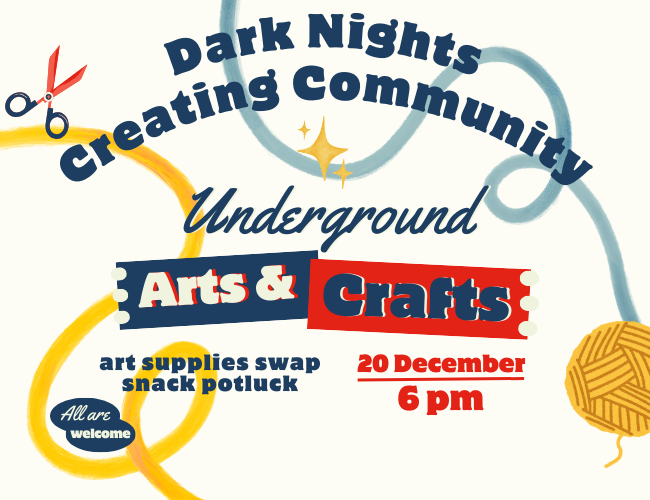
Art Cafe: Dark Nights Creating Community
Community Arts
,
Upcoming
Dec 14, 2025
Mini Nichos Workshop
Classes
,
Community Arts
,
Crafts
,
Kids
,
Upcoming
,
Workshops
Sep 30, 2025
Alebrijes Sculptures
Classes
,
Community Arts
,
Crafts
,
Kids
,
Upcoming
,
Workshops
Sep 30, 2025
Creating Community: Art Cafe at JH Arts and Crafts Studio
Community Arts
,
Upcoming
Jul 3, 2025
Healthy Living Mural with The Arc of Benton County
Community Arts
,
Painting
,
Projects
May 31, 2024
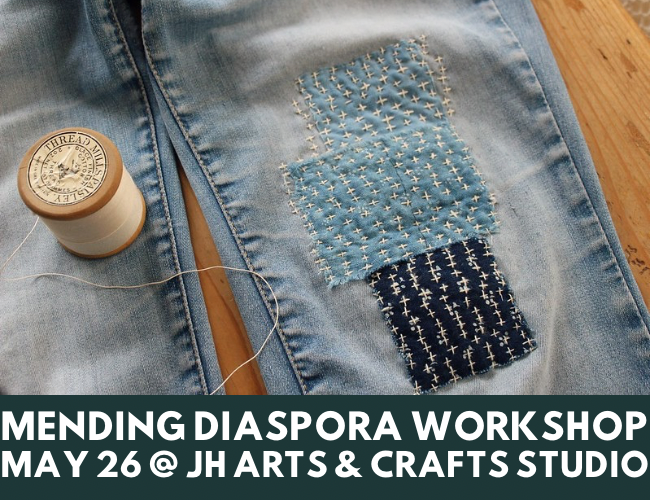
Mending Diaspora Workshop
Adults
,
Archive
,
Classes
,
Community Arts
,
Crafts
,
Workshops
May 10, 2024
Me and my friends are on the CAW!
Artist Blog
,
Community Arts
Apr 29, 2024
(Not a) Conference DocuZine
Community Arts
,
Projects
,
Stories & Comics
Nov 13, 2023
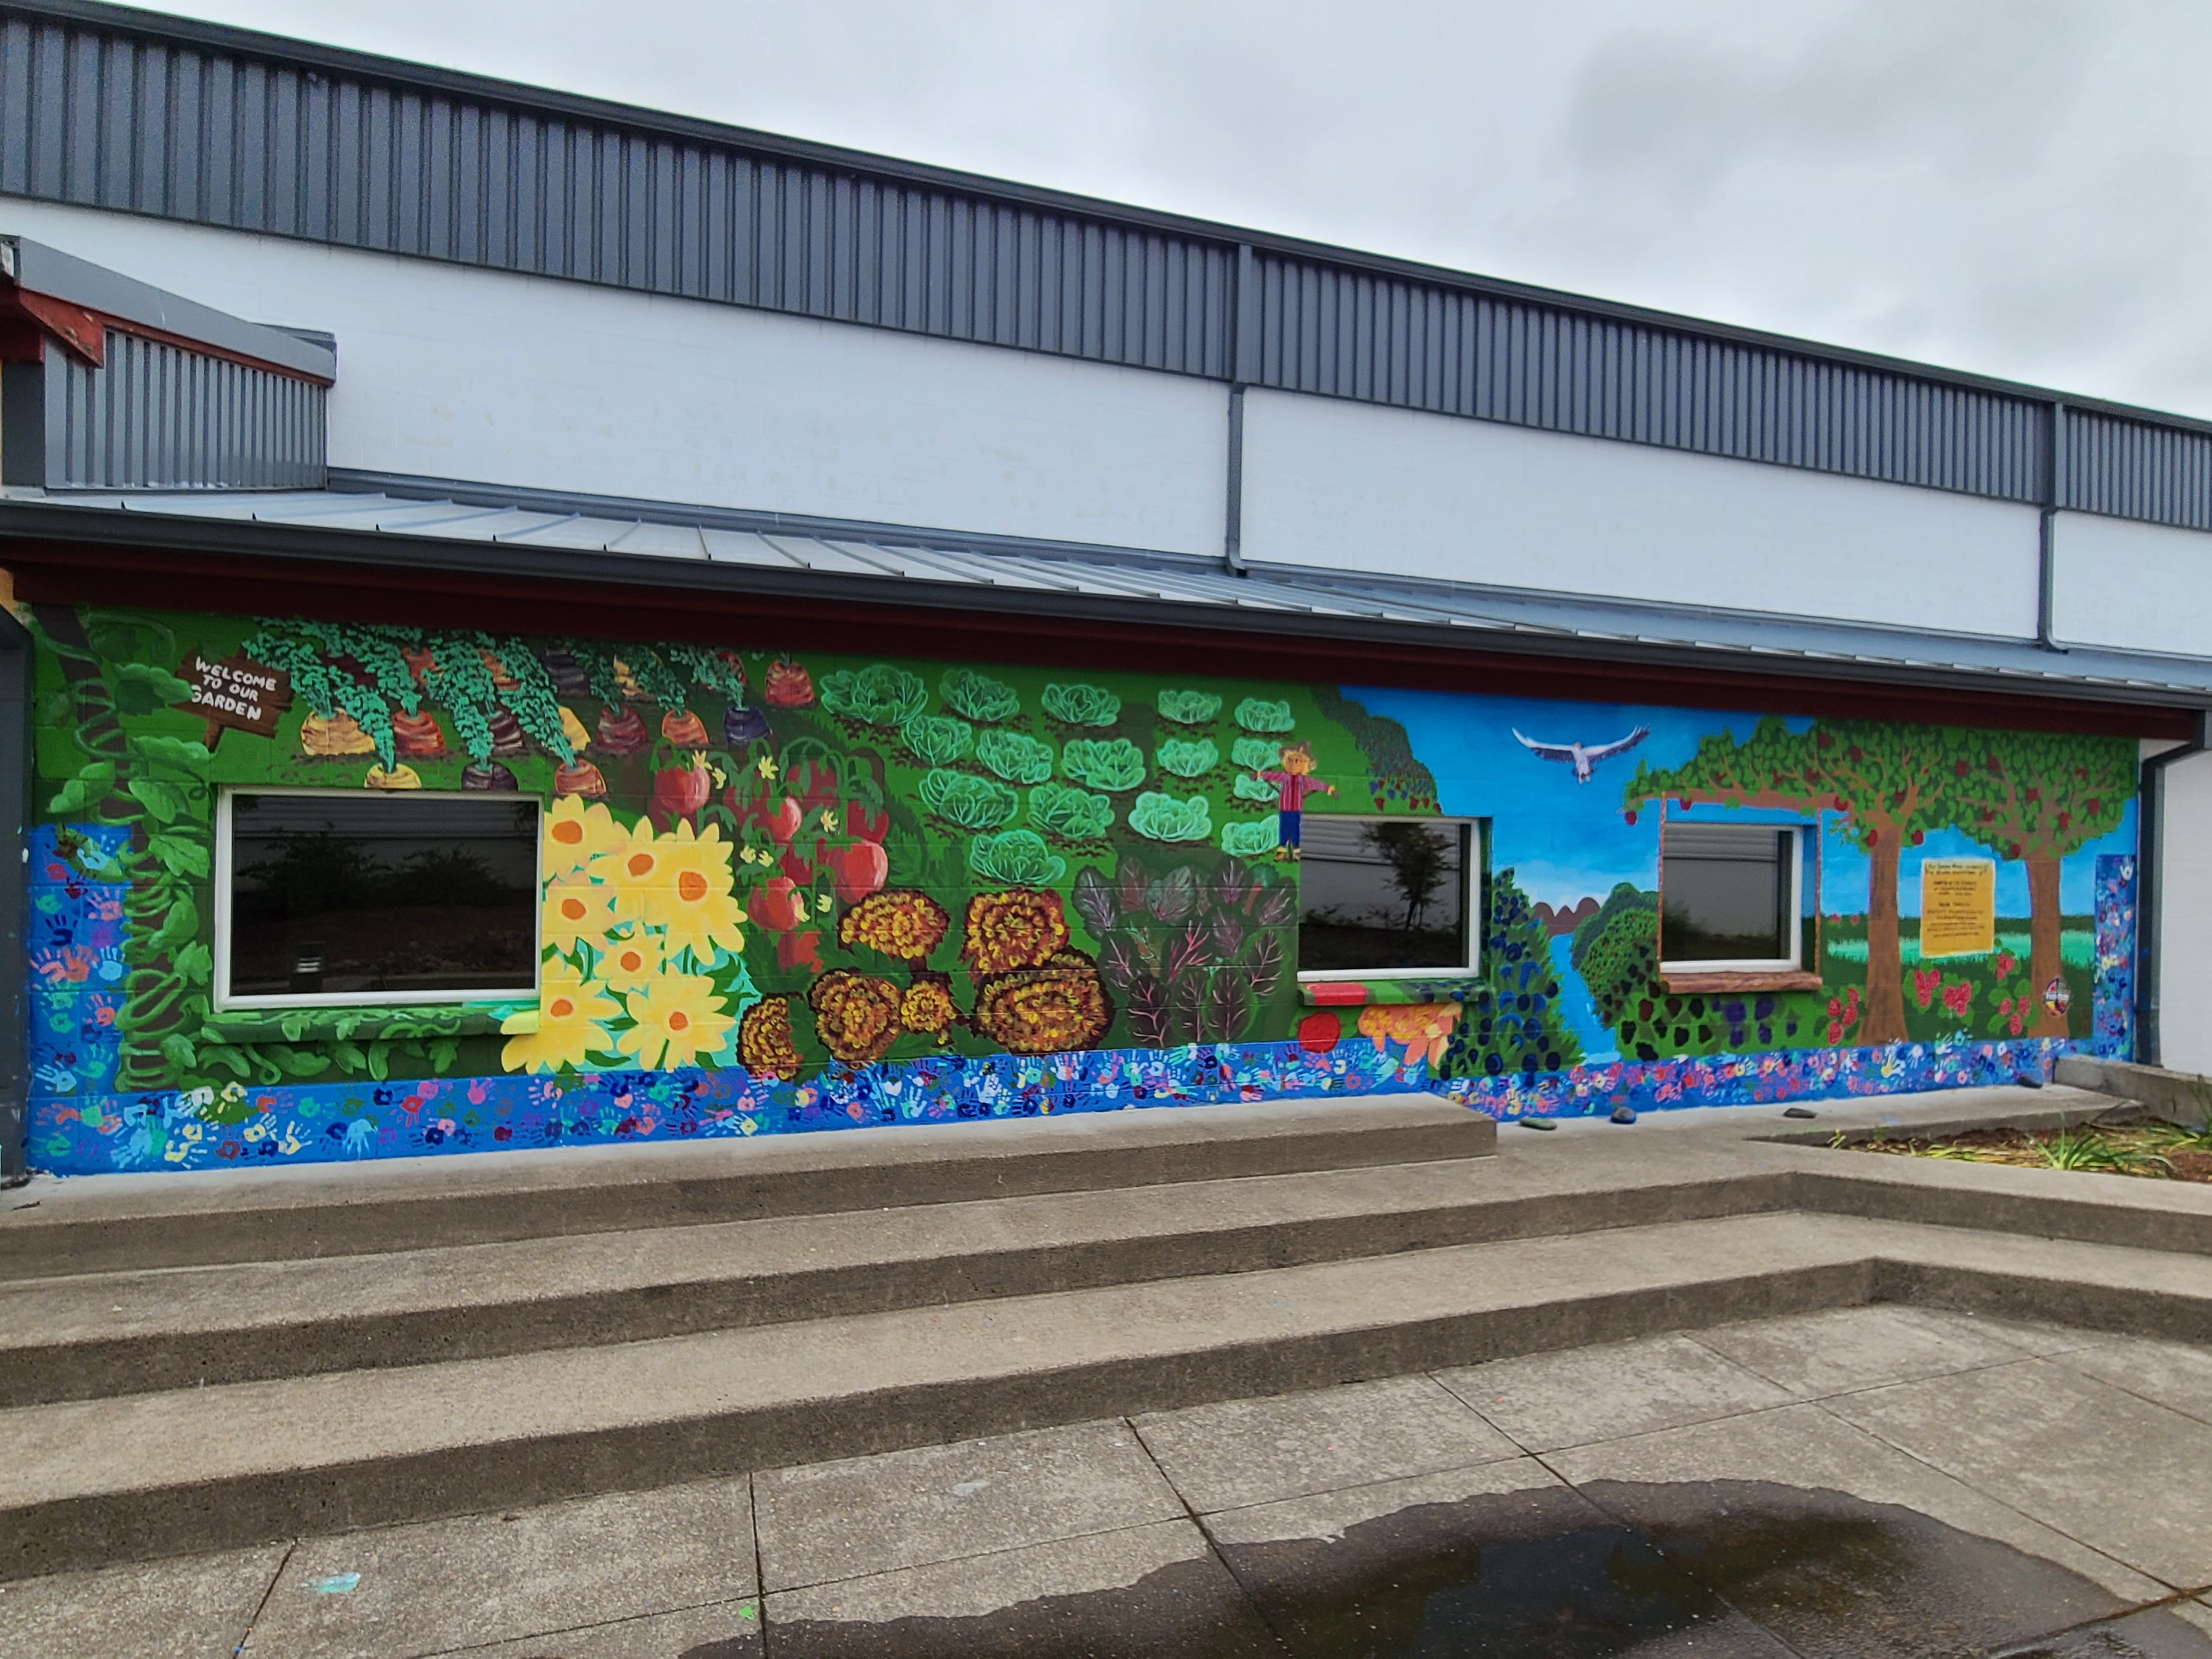
Painting a School Garden Mural
Archive
,
Community Arts
,
Kids
,
Painting
,
Projects
,
Residencies
Sep 14, 2023
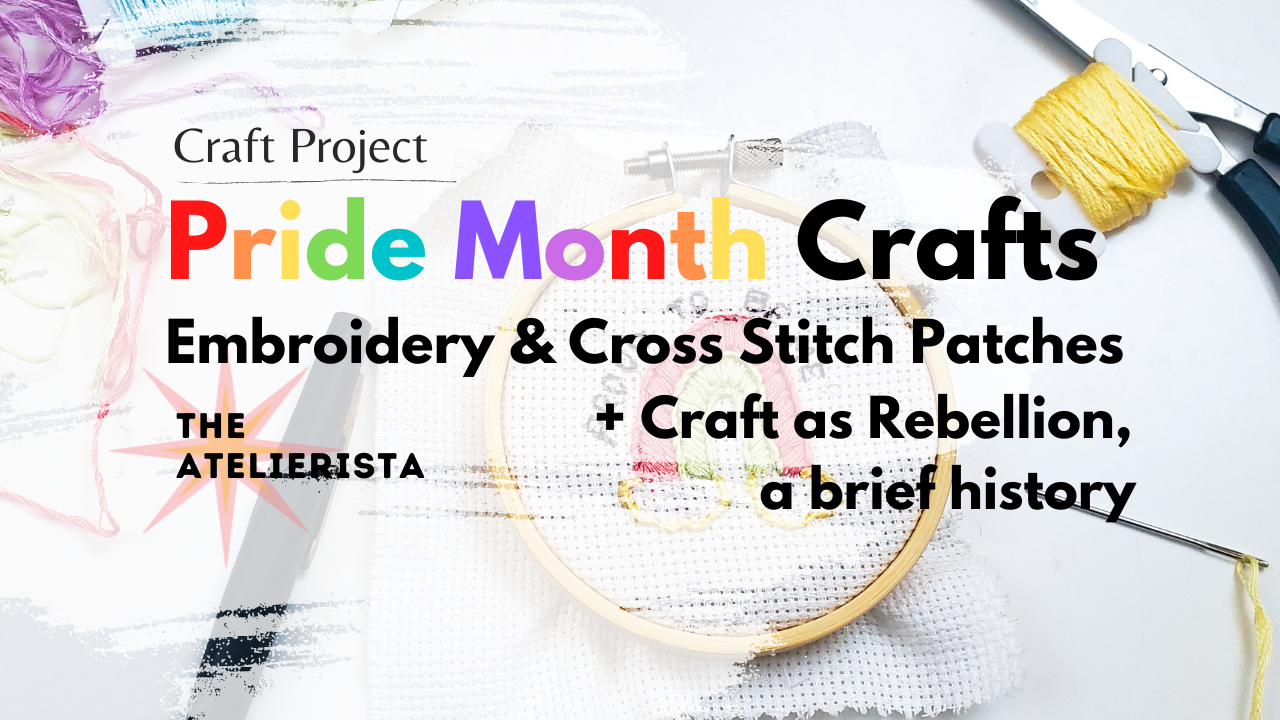
Embroidered Pride Patches
Atelierista
,
Community Arts
,
Crafts
,
Projects
May 31, 2022
Next
Loading Comments...
Write a Comment...
Email (Required)
Name (Required)
Website