Skip to content
Artwork
About
Category:
Crafts
Linocut Stamps
Adults
,
Classes
,
Crafts
,
Upcoming
,
Workshops
Oct 7, 2025
Mini Nichos Workshop
Classes
,
Community Arts
,
Crafts
,
Kids
,
Upcoming
,
Workshops
Sep 30, 2025
Alebrijes Sculptures
Classes
,
Community Arts
,
Crafts
,
Kids
,
Upcoming
,
Workshops
Sep 30, 2025
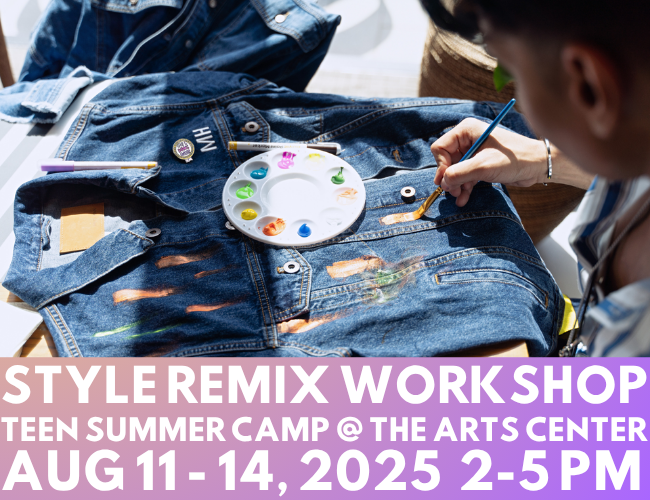
Style Remix with The Arts Center
Archive
,
Classes
,
Crafts
,
Kids
Jun 5, 2025
Adventures in Nature Crafts with The Arts Center
Archive
,
Classes
,
Crafts
,
Kids
Jun 5, 2025
Having Fun with Clay Critters and Social Emotional Learning
Archive
,
Crafts
,
Kids
,
Painting
,
Projects
Apr 1, 2025
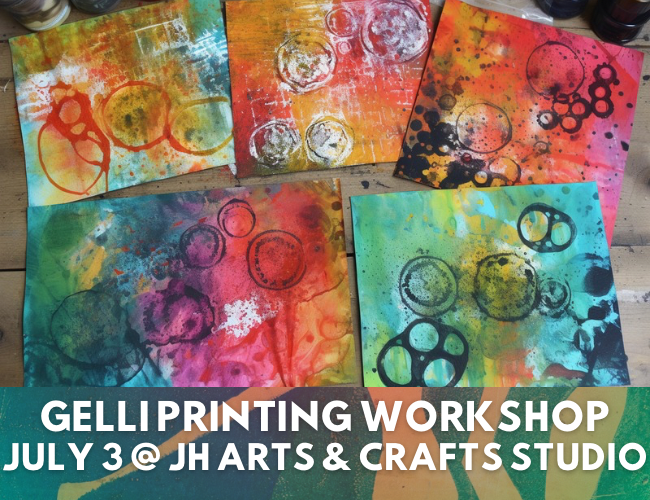
Gelli Printing
Adults
,
Archive
,
Classes
,
Crafts
,
Painting
,
Workshops
May 30, 2024
Linocut Printing
Adults
,
Archive
,
Classes
,
Crafts
,
Painting
,
Workshops
May 30, 2024
Game Design at The Arts Center
Archive
,
Classes
,
Crafts
,
Design
,
Kids
,
Stories & Comics
,
Workshops
May 27, 2024
Monster Makers 2024
Archive
,
Crafts
,
Kids
,
Residencies
May 17, 2024
Next
Loading Comments...
Write a Comment...
Email (Required)
Name (Required)
Website