Skip to content
Artwork
About
Category:
Residencies
Teaching Artistry: Drawing and Moving with Comics
Archive
,
Kids
,
Residencies
,
Stories & Comics
Apr 29, 2025
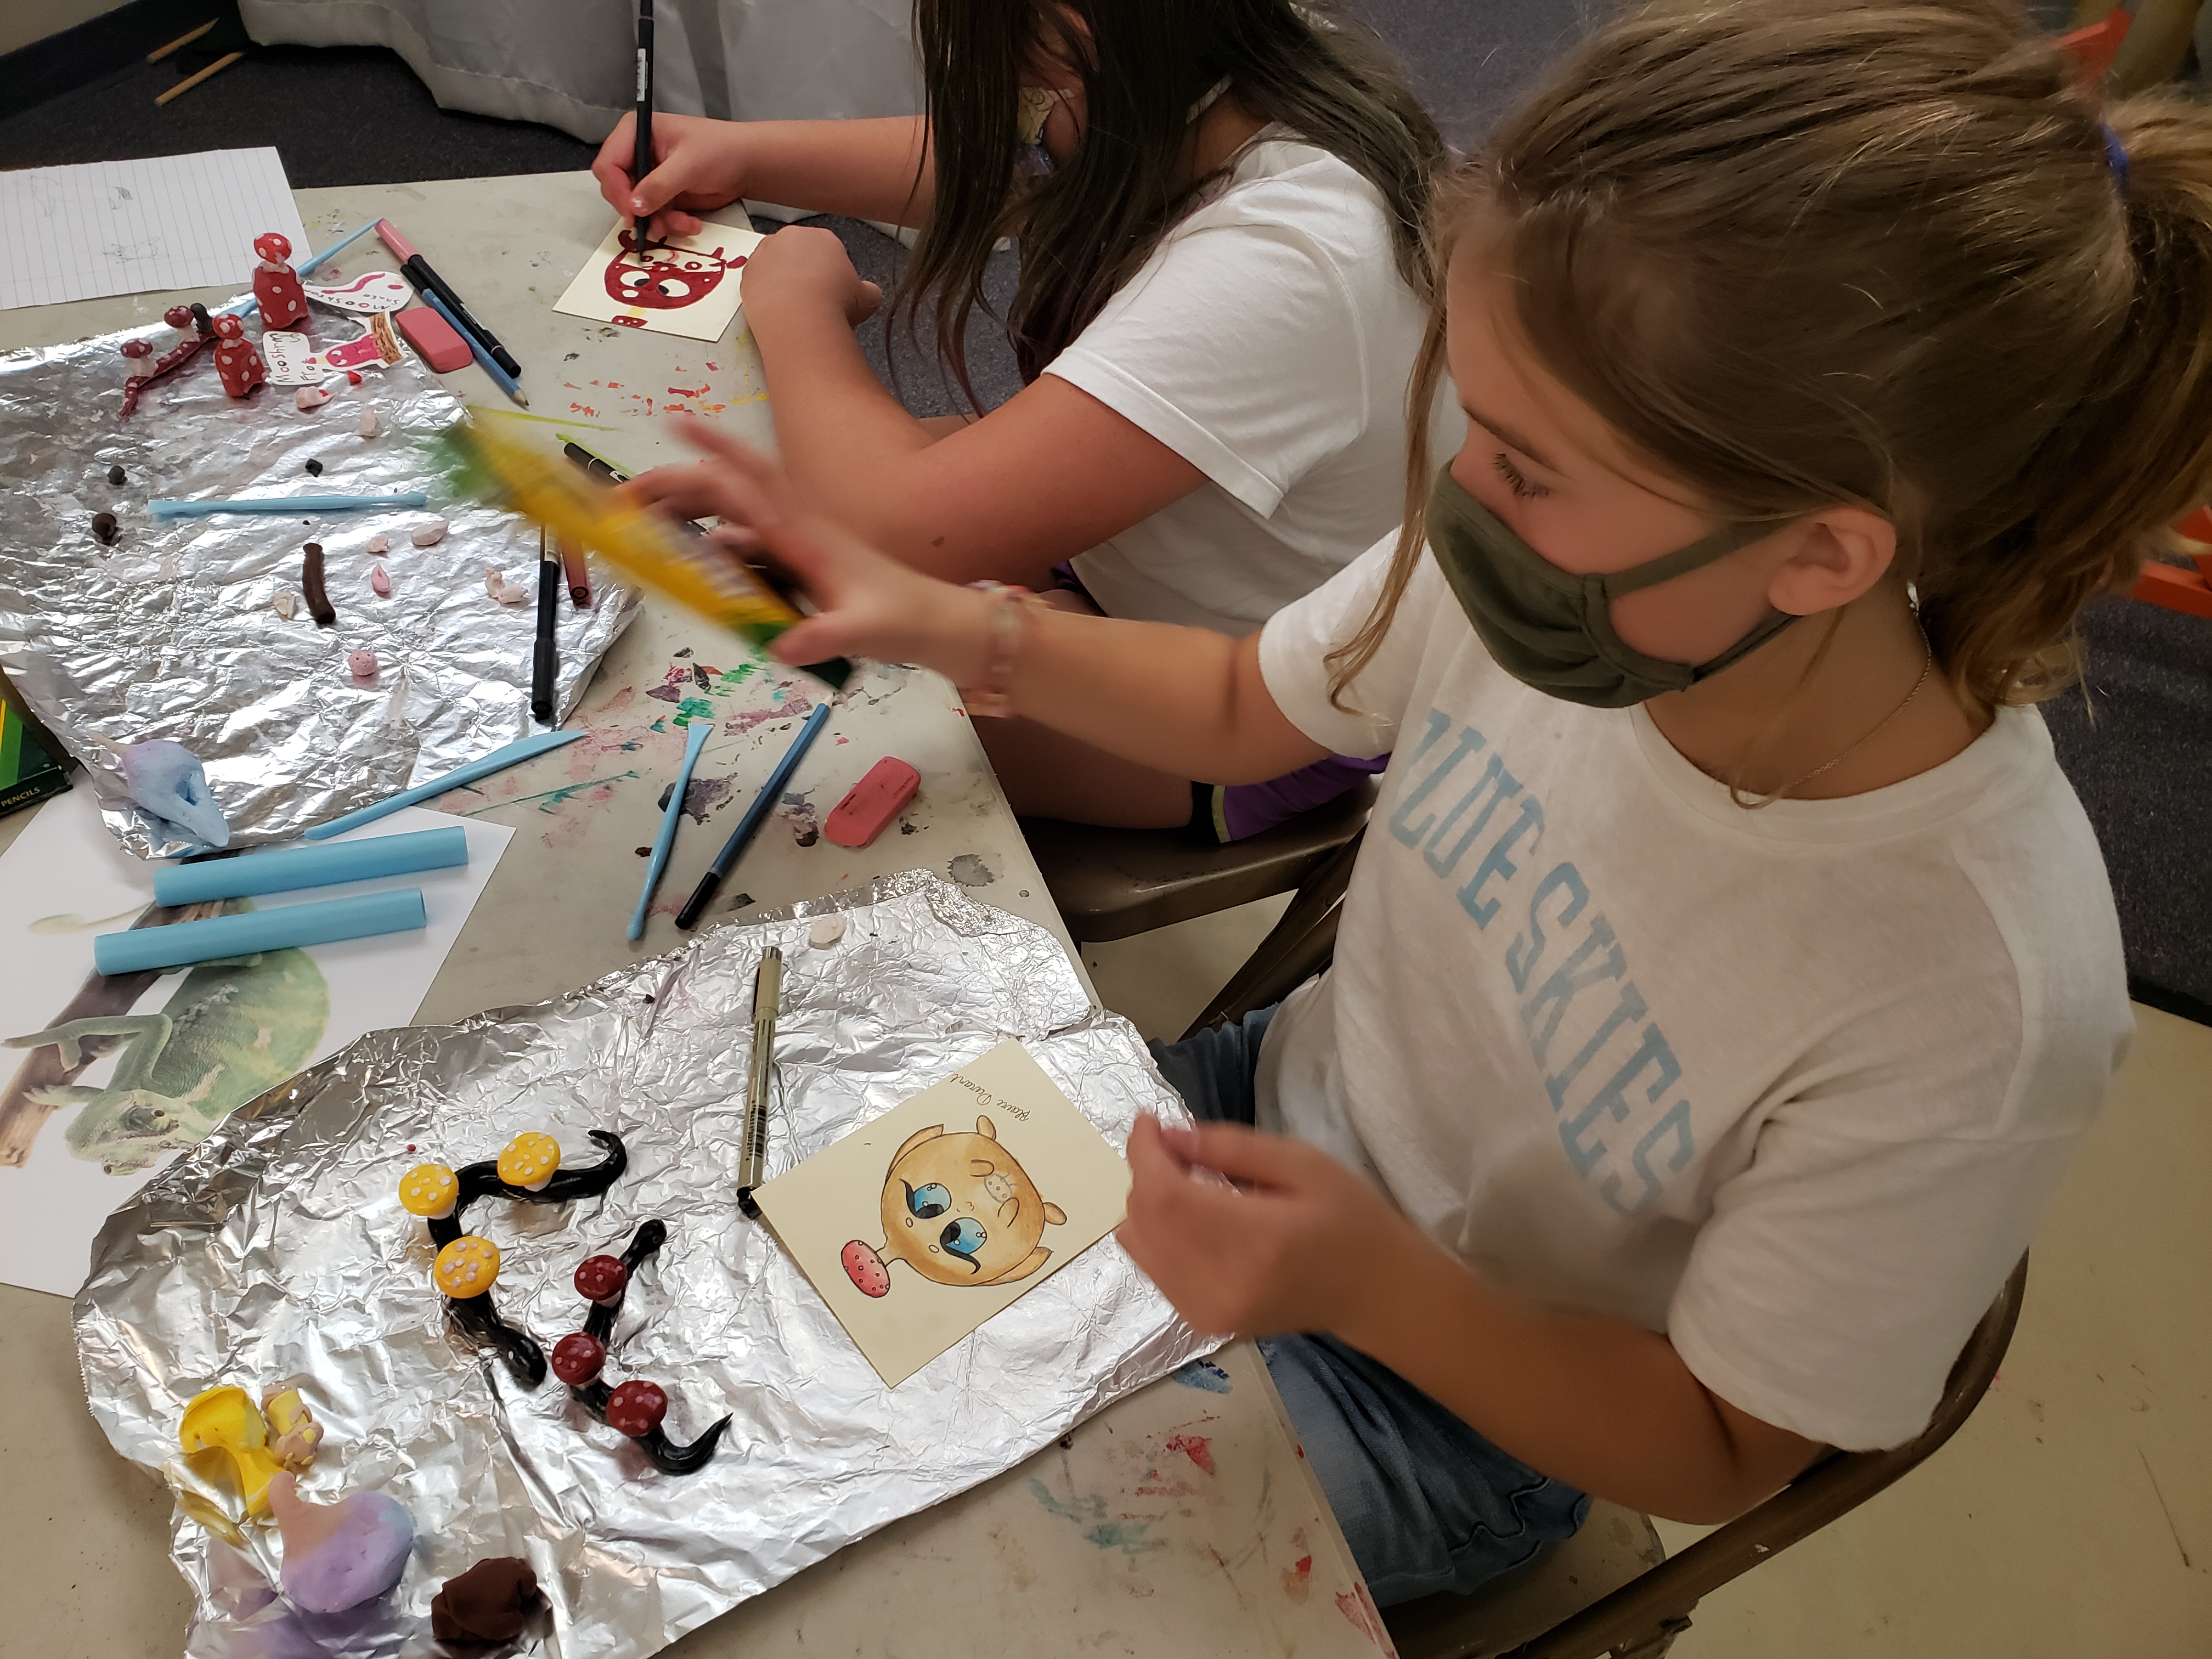
Monster Makers 2024
Archive
,
Crafts
,
Kids
,
Residencies
May 17, 2024
I’m Teaching Comics and SEL
Archive
,
Residencies
,
Stories & Comics
Sep 26, 2023
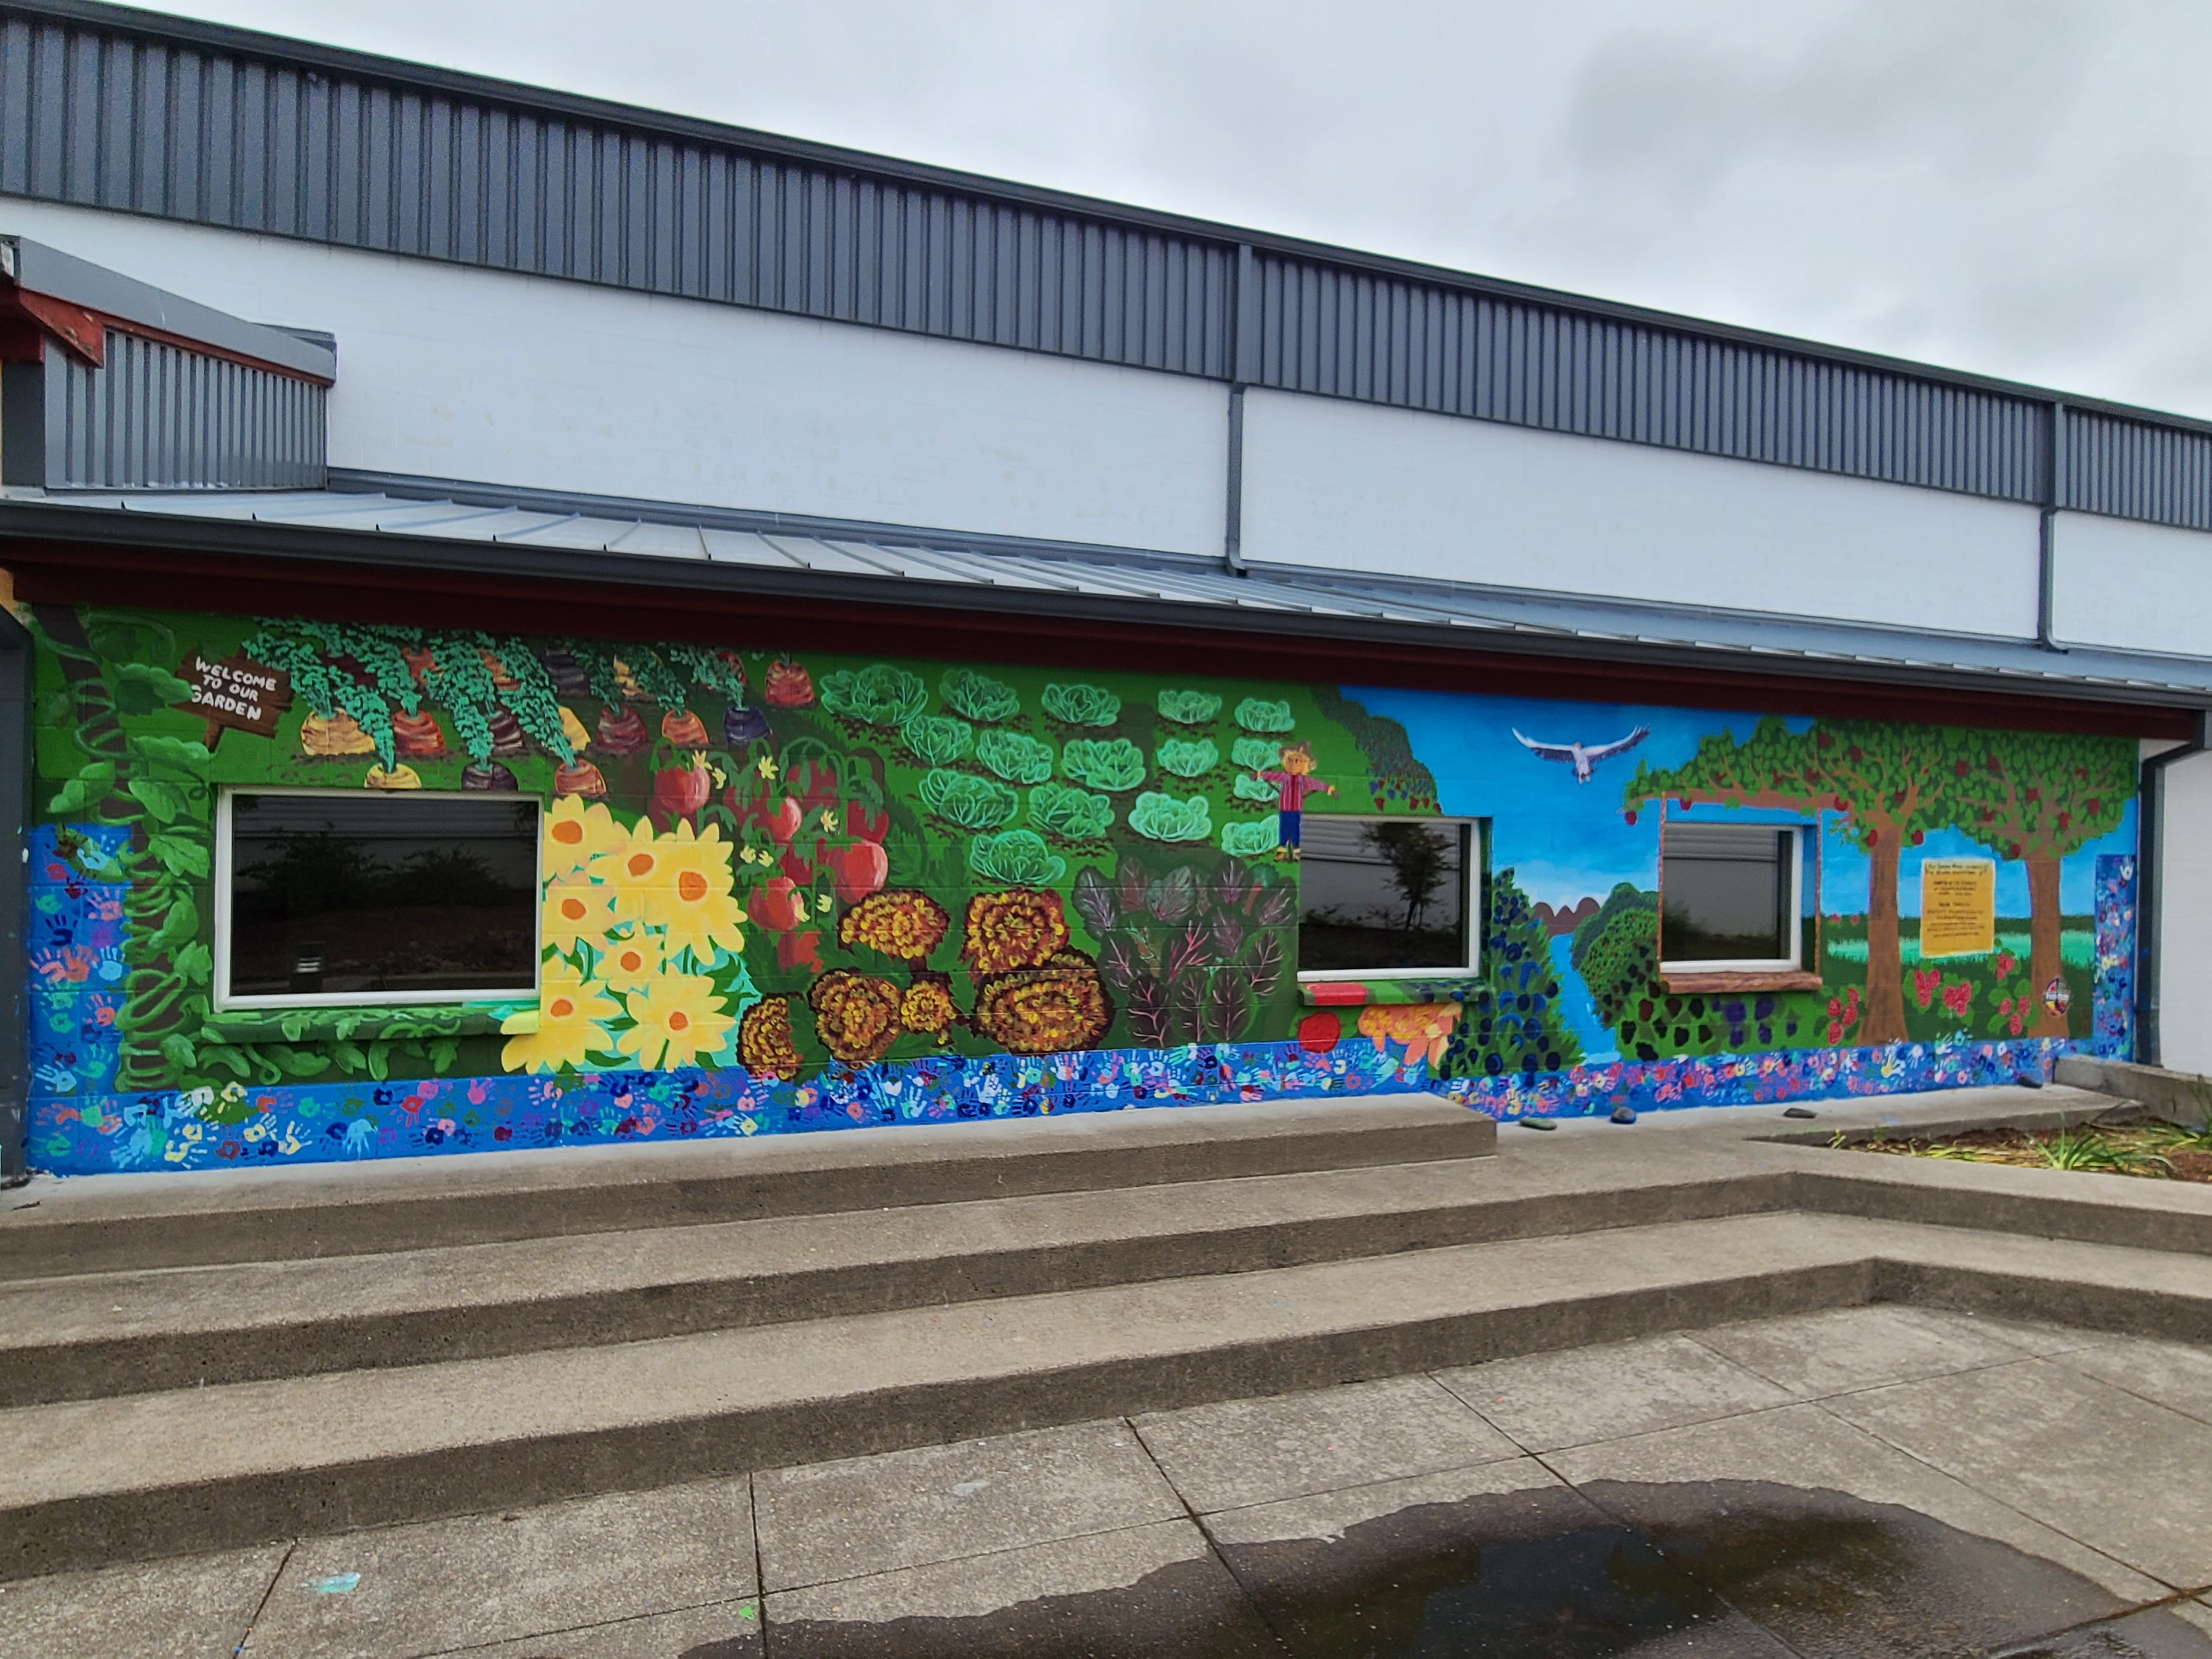
Painting a School Garden Mural
Archive
,
Community Arts
,
Kids
,
Painting
,
Projects
,
Residencies
Sep 14, 2023
Creating Our Own Adventures in Art Camp
Archive
,
Classes
,
Drawing
,
Kids
,
Residencies
,
Stories & Comics
Apr 3, 2023
Residency: Comics and Story Making
Archive
,
Classes
,
Drawing
,
Kids
,
Residencies
,
Stories & Comics
Mar 22, 2023
Design Mentees Meet a Professional Artist
Archive
,
Classes
,
Design
,
Kids
,
Residencies
Feb 21, 2023
Monster Makers with The Annex Charter School
Archive
,
Classes
,
Crafts
,
Kids
,
Residencies
Jun 27, 2022
Monster Makers Camp Overview
Archive
,
Classes
,
Crafts
,
Kids
,
Residencies
Jan 28, 2022
Loading Comments...
Write a Comment...
Email (Required)
Name (Required)
Website