Skip to content
Artwork
About
Category:
Projects
Home is a Hope Poetry Book
Projects
Apr 30, 2025
Having Fun with Clay Critters and Social Emotional Learning
Archive
,
Crafts
,
Kids
,
Painting
,
Projects
Apr 1, 2025
Sketchbook January 2025
Artist Blog
,
Projects
Jan 13, 2025
Healthy Living Mural with The Arc of Benton County
Community Arts
,
Painting
,
Projects
May 31, 2024
Painting for Salem Reads 2024
Artist Blog
,
Projects
Mar 3, 2024
(Not a) Conference DocuZine
Community Arts
,
Projects
,
Stories & Comics
Nov 13, 2023
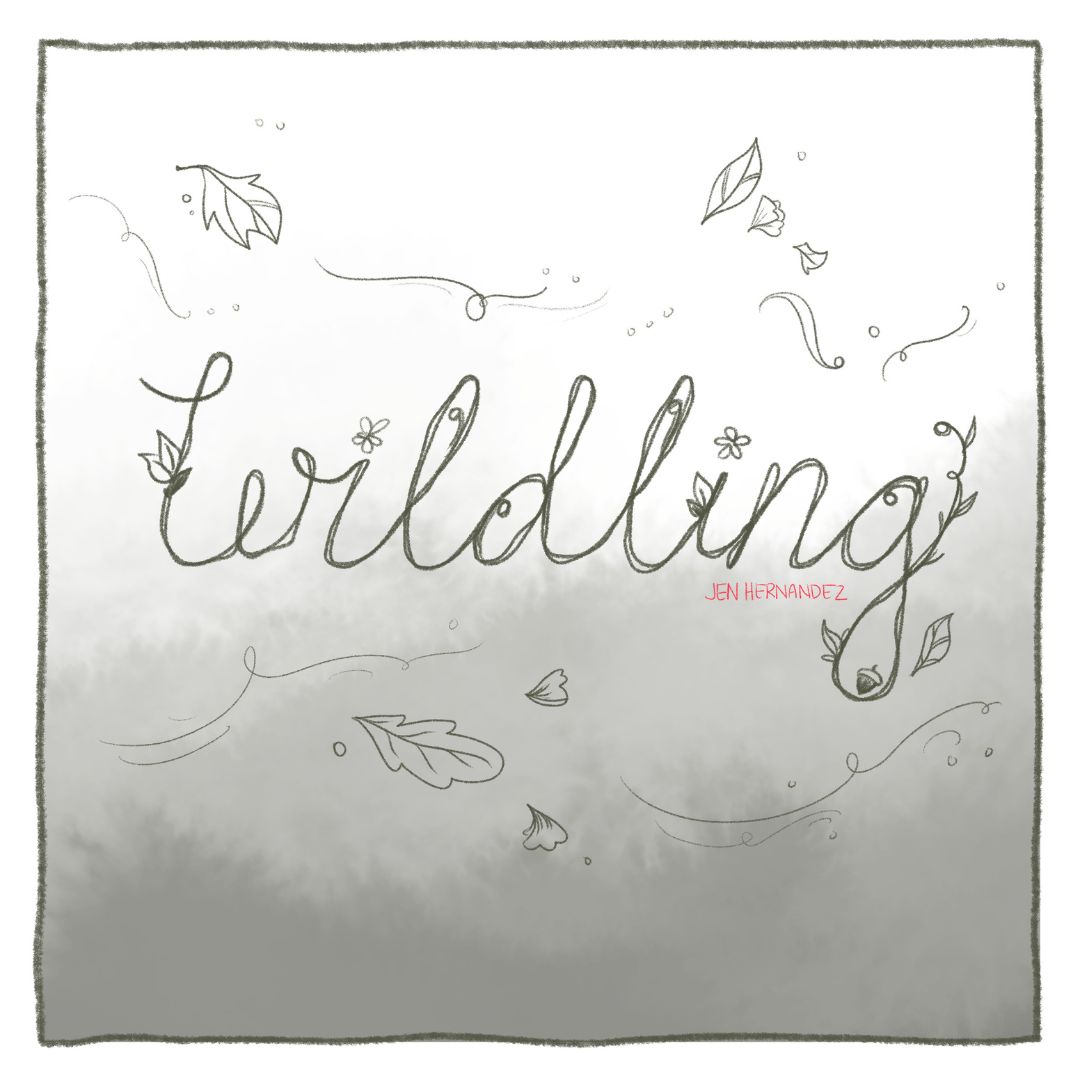
Wildling, A Quiet Comic about Life in the Misty Forest
Projects
,
Stories & Comics
Oct 12, 2023
Little Buddy, a comic about anxiety
Projects
,
Stories & Comics
Oct 4, 2023
Philippine Society and Revolution Visual Notes
Projects
Sep 25, 2023
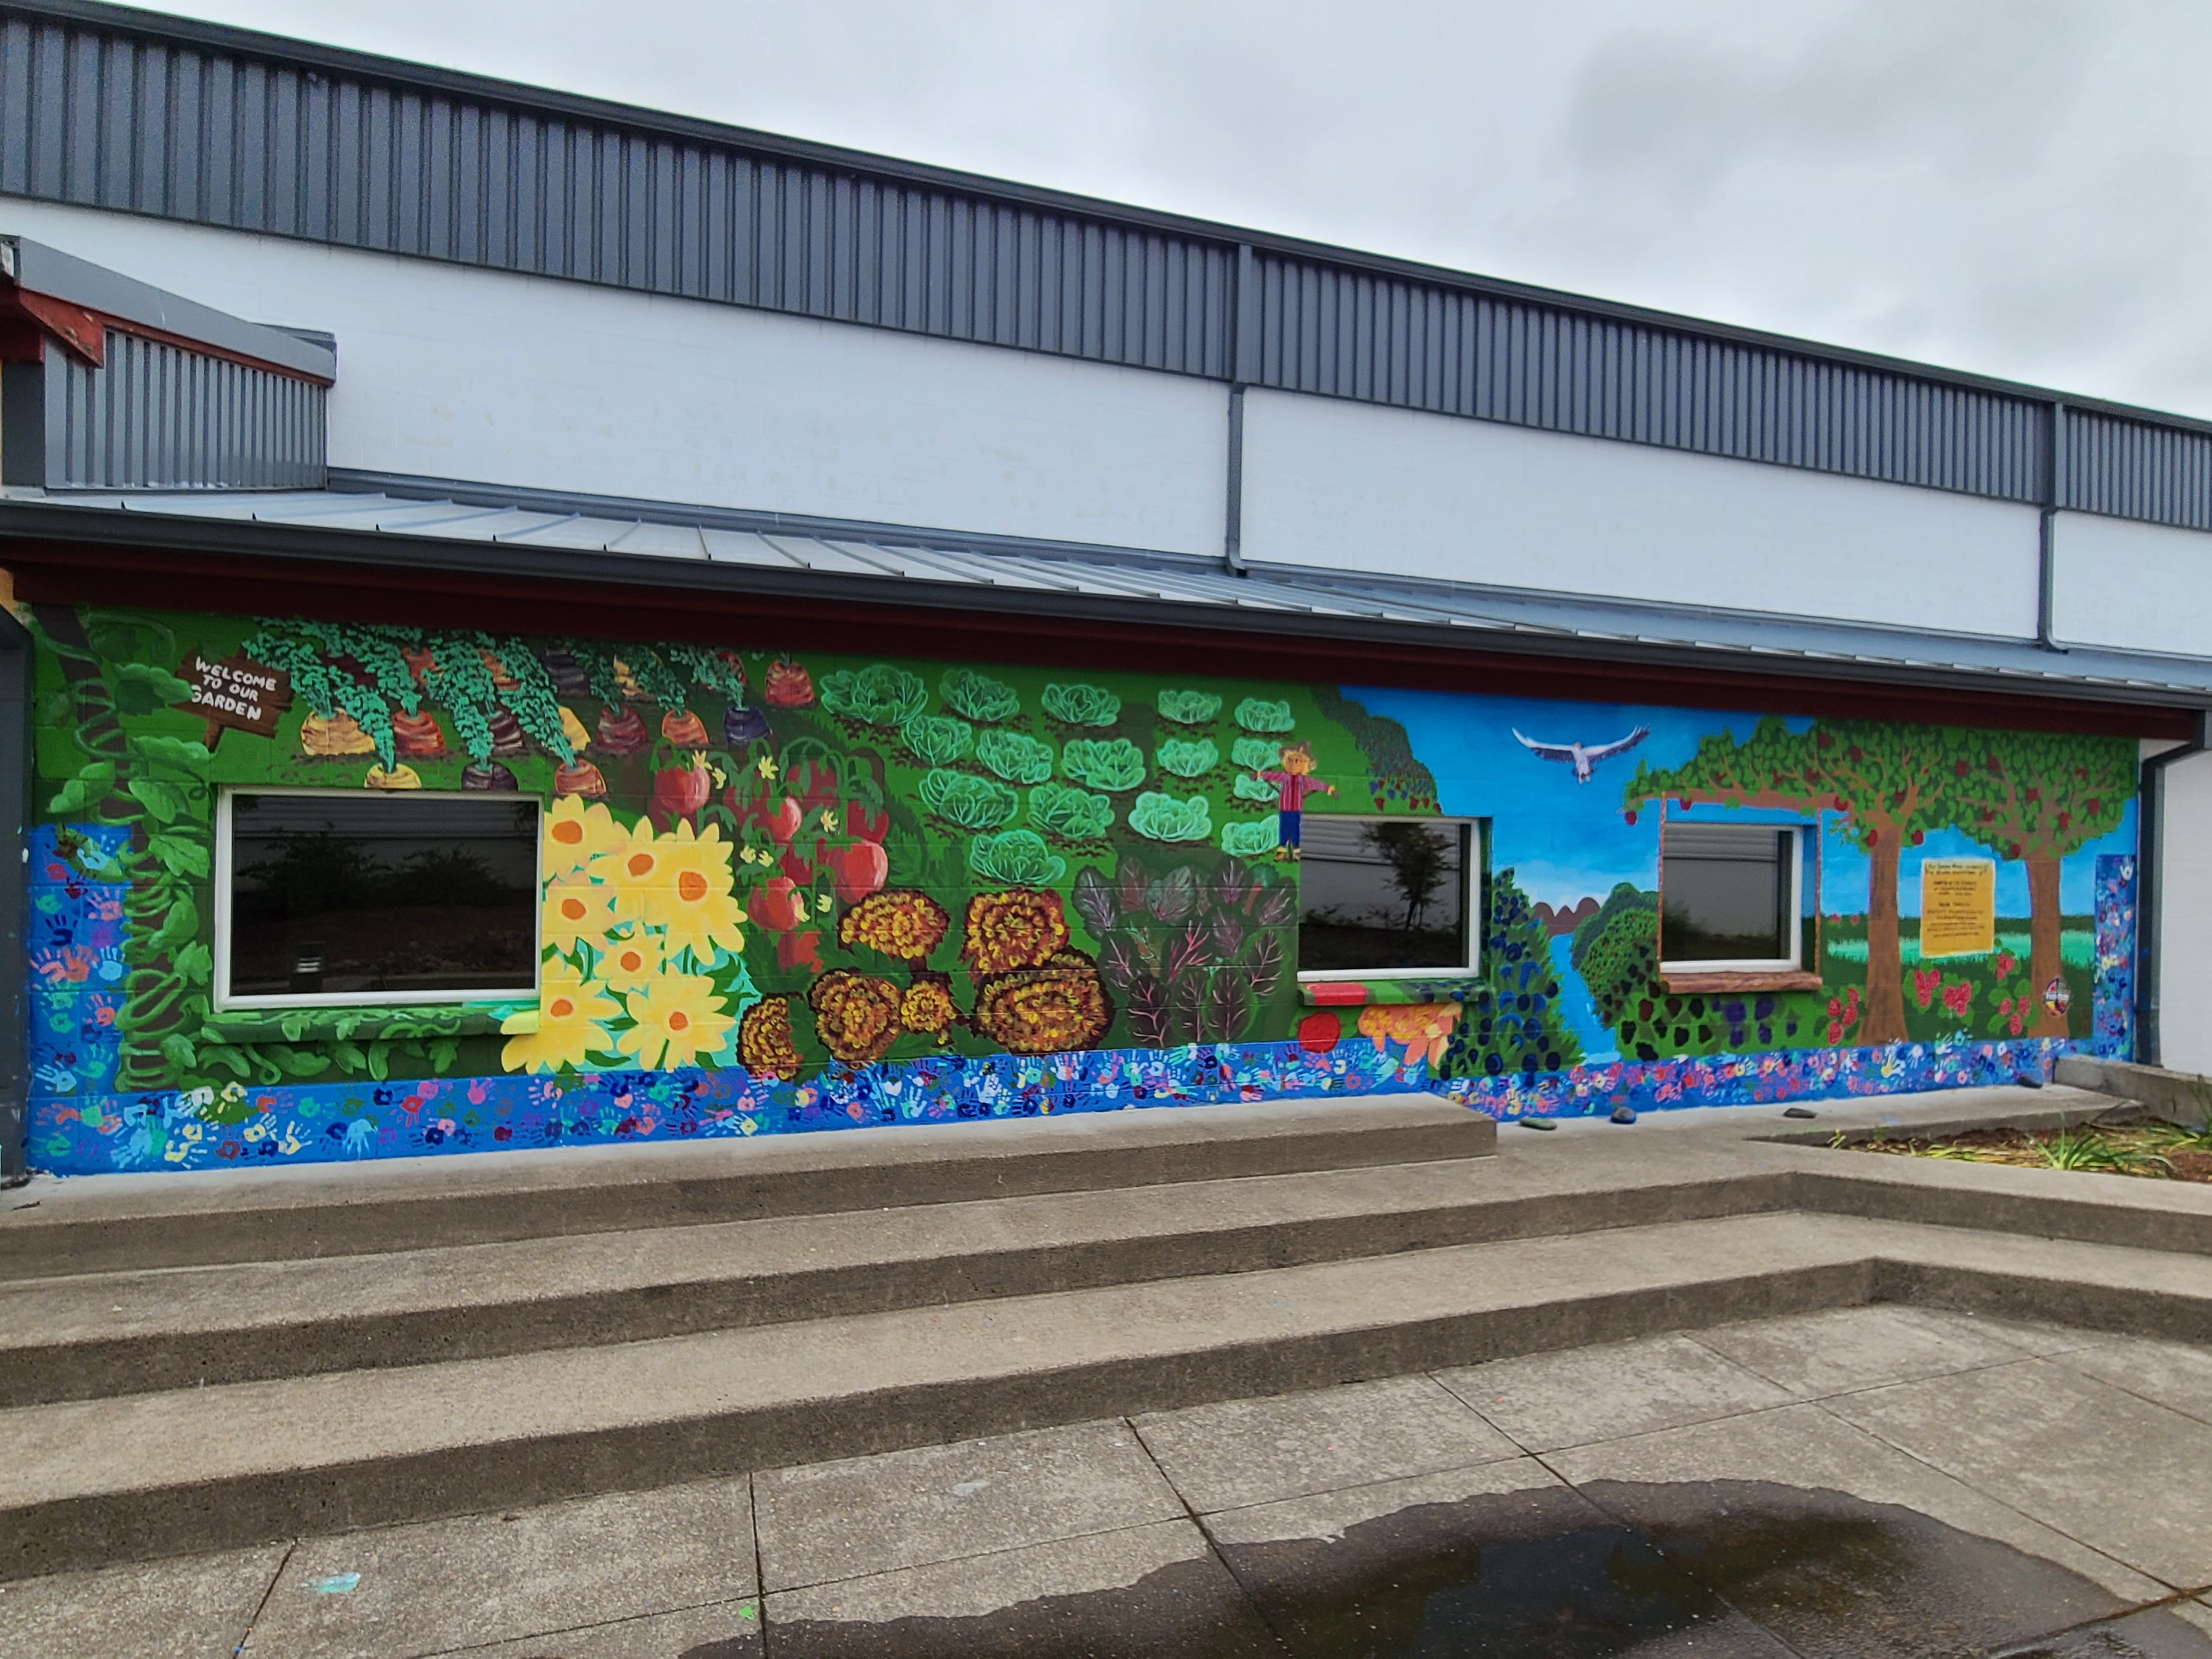
Painting a School Garden Mural
Archive
,
Community Arts
,
Kids
,
Painting
,
Projects
,
Residencies
Sep 14, 2023
Next
Loading Comments...
Write a Comment...
Email (Required)
Name (Required)
Website