Artwork
About
Category:
Bookbinding
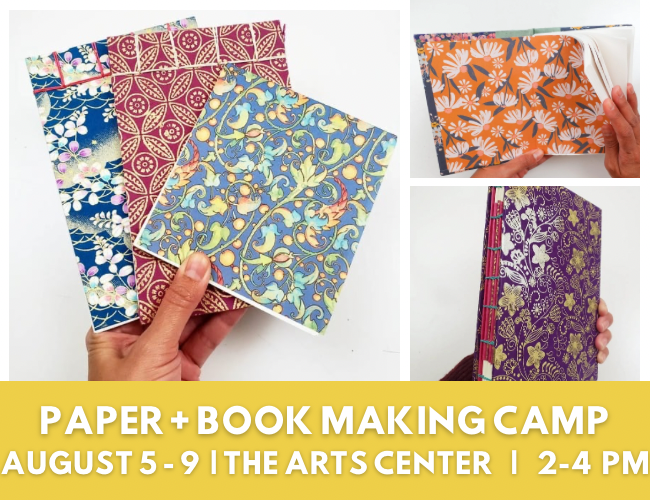
Book Making at The Arts Center
Archive
,
Bookbinding
,
Classes
,
Kids
,
Workshops
May 27, 2024
Wellness + Storybooks Spring Break Camp
Archive
,
Bookbinding
,
Classes
,
Drawing
,
Kids
,
Stories & Comics
,
Workshops
Mar 17, 2024
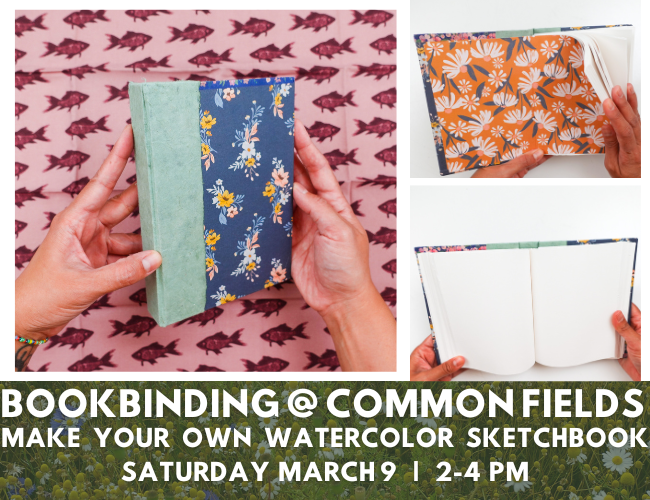
Watercolor Journal Making
Adults
,
Archive
,
Bookbinding
,
Classes
,
Paint Night
,
Workshops
Dec 15, 2023
Watercolor Journal Making
Adults
,
Archive
,
Bookbinding
,
Classes
,
Paint Night
,
Workshops
Dec 15, 2023
Teens and Tweens Bookbinding at the Library
Archive
,
Bookbinding
,
Classes
,
Kids
,
Upcoming
,
Workshops
Sep 22, 2023
Bespoke Coptic Bookbinding: Family Edition
Adults
,
Archive
,
Bookbinding
,
Classes
,
Upcoming
,
Workshops
Sep 15, 2023
Bespoke Case Bookbinding: Family Edition
Adults
,
Archive
,
Bookbinding
,
Classes
,
Upcoming
,
Workshops
Sep 15, 2023
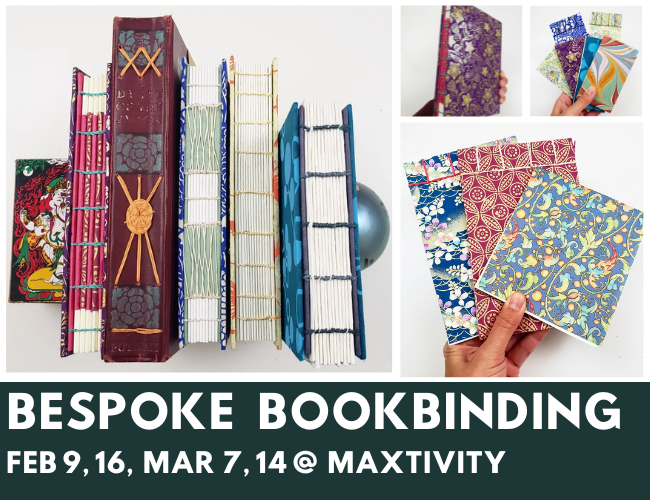
Bespoke Bookbinding @ Maxtivity
Adults
,
Archive
,
Bookbinding
,
Classes
Feb 2, 2023
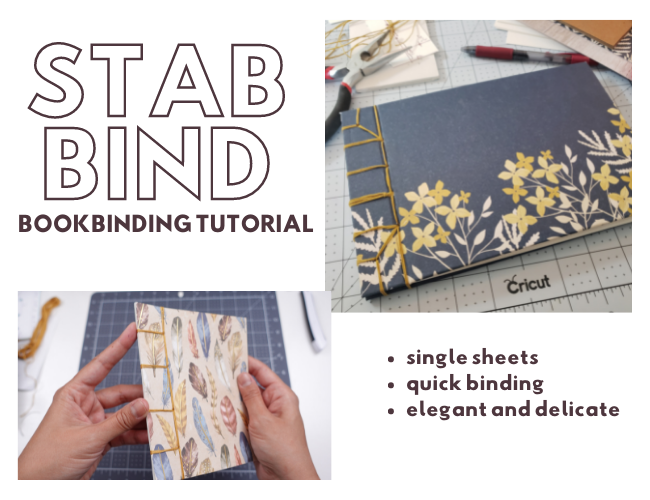
Stab Binding
Atelierista
,
Bookbinding
Oct 11, 2022
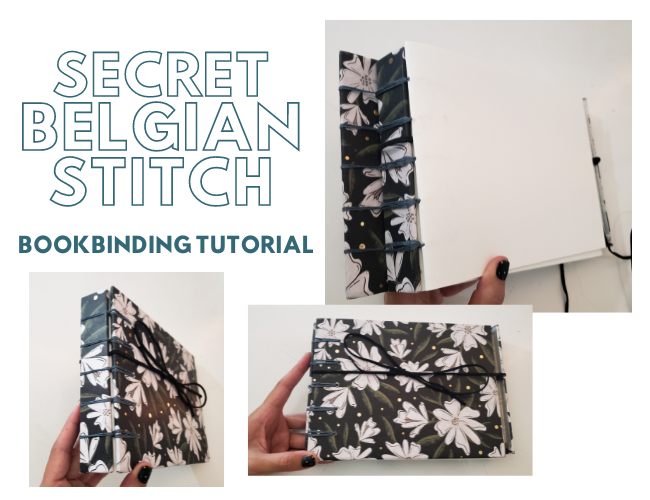
Secret Belgian Stitch Prep
Bookbinding
Oct 5, 2022
Next
Loading Comments...
Write a Comment...
Email (Required)
Name (Required)
Website